Renter-Friendly Home
How to Hang Lightweight Items Without Drilling in a Rental
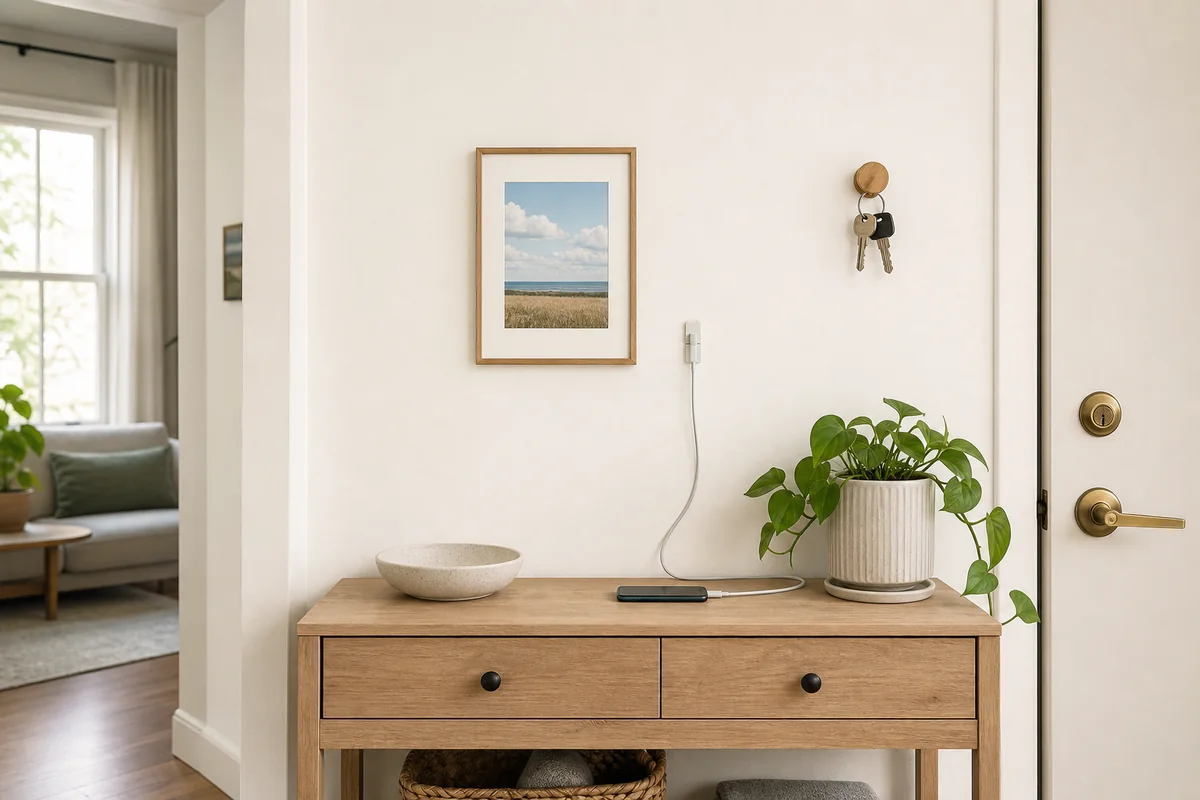
Renters often need a way to hang lightweight decor, keep keys near the door, or route charging cables without drilling permanent holes.
The challenge is choosing an adhesive mounting method only where the surface, item, lease, and removal path make it a reasonable fit.
Editor
SoloFave Editorial Team
Updated
July 2026
How we picked
Removal risk, surface compatibility, functional impact, setup effort, lease suitability, and everyday usefulness.
Quick answer
For lightweight hanging and cord-control tasks on a compatible surface, start with a removable mounting-strip system. Do not use it for heavy, valuable, safety-critical, wet-area, or structural mounting.
Recommended first
The SoloFave Pick
The one solution we would try first for this specific problem.
- Product type
Removable mounting-strip system
- Difficulty
- Easy
- Why this pick
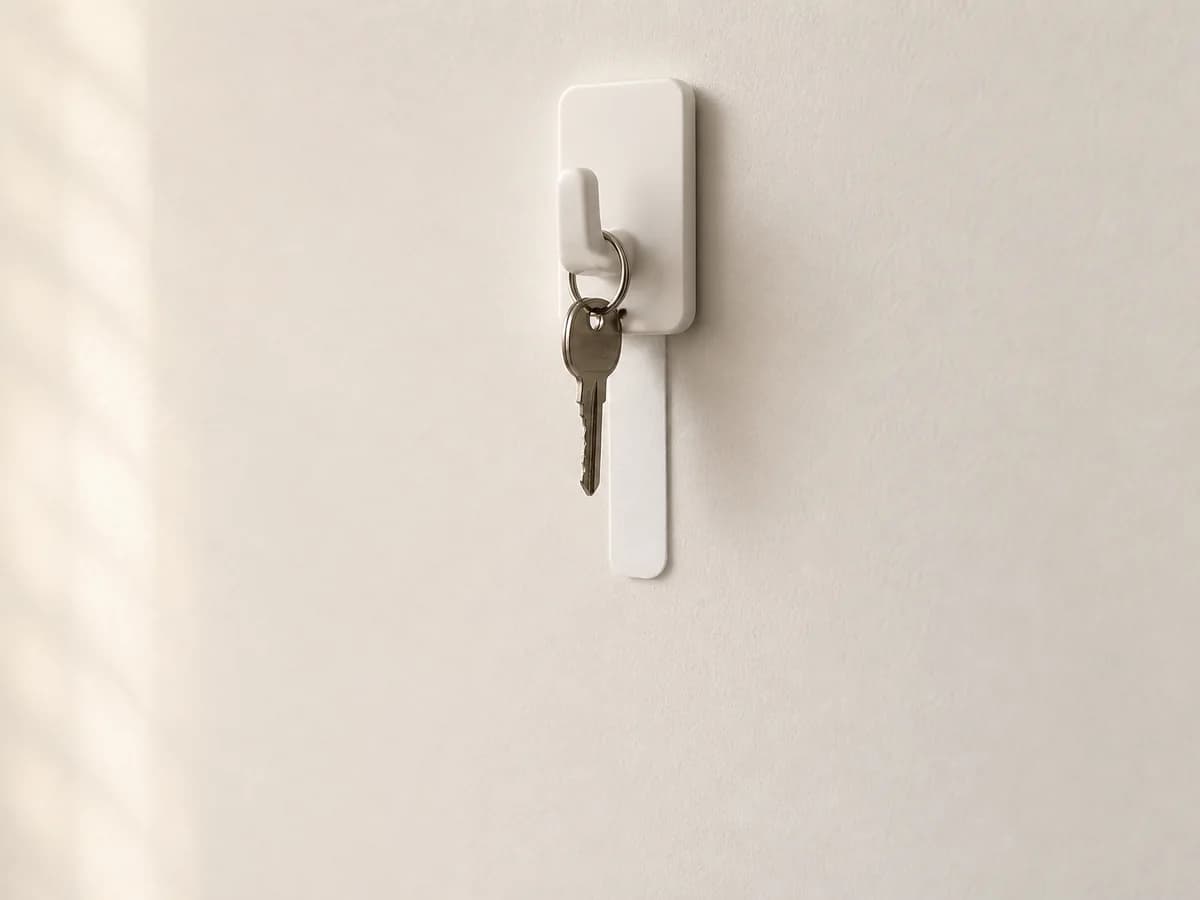
- It handles several lightweight surface tasks through one consistent installation and removal process without drilling permanent holes.
Best For
- Lightweight framed prints in low-risk locations.
- Keys and small daily accessories on a compatible hook.
- Routing lightweight charging and data cables with cord clips.
- Lightweight seasonal decorations.
- Small removable organization tasks.
- Smooth, clean, manufacturer-approved surfaces.
- Renters who have checked their lease and the product instructions.
The Problem
"Damage-free" is a marketing description, not a universal guarantee. Avoiding a drilled hole removes one type of alteration, but adhesive can still leave residue, lift paint, mark a finish, or expose a weak layer underneath.
Results depend on paint quality and age, surface texture, wallpaper, moisture, dust, preparation, product compatibility, applied load, waiting time, room conditions, and removal method. Recently painted, peeling, chalky, damp, weak, rough, or heavily textured finishes may be poor candidates even when the item is light.
Lease rules matter too. A lease may restrict adhesive products even when drilling is prohibited, so check the lease or ask the property manager before installation.
Why this is our one pick
- One compatible mounting family can cover several small apartment tasks, including lightweight hooks, picture-hanging strips, and cord clips.
- It avoids permanent holes when the surface, lease, item, and instructions make adhesive a reasonable choice.
- The components take little storage space and can be positioned before final loading.
- Using one compatible family creates a more consistent installation and removal routine than a random kit of unrelated products.
- Each accessory can still have different surface, preparation, waiting, load, and removal limits, so the exact instructions remain controlling.
Alternatives We Compared
Tension-mounted systems
These can be better for compatible windows or floor-to-ceiling applications because they transfer force between supporting surfaces instead of relying on wall adhesive. They still require the correct dimensions and safe clearance.
Clip-on systems
Clip-on hooks and organizers can work when a door, cabinet, desk, shelf, or furniture edge is compatible. Check thickness, clearance, stability, and surface protection.
Freestanding organizers
Freestanding storage is better for heavier items or surfaces that should not receive adhesive. If the problem is storage capacity, start with the small-apartment storage guide.
Drilled anchors
Correctly selected and installed anchors may be more appropriate for permanent or heavier loads when the lease permits drilling. Hardware choice depends on the wall, item, load, and installation requirements.
Peel-and-stick decorative coverings
Decorative coverings address a larger surface and bring different preparation, heat, moisture, removal, and lease considerations. For a rental-kitchen wall, use the peel-and-stick backsplash guide.
Limitations and who should skip this
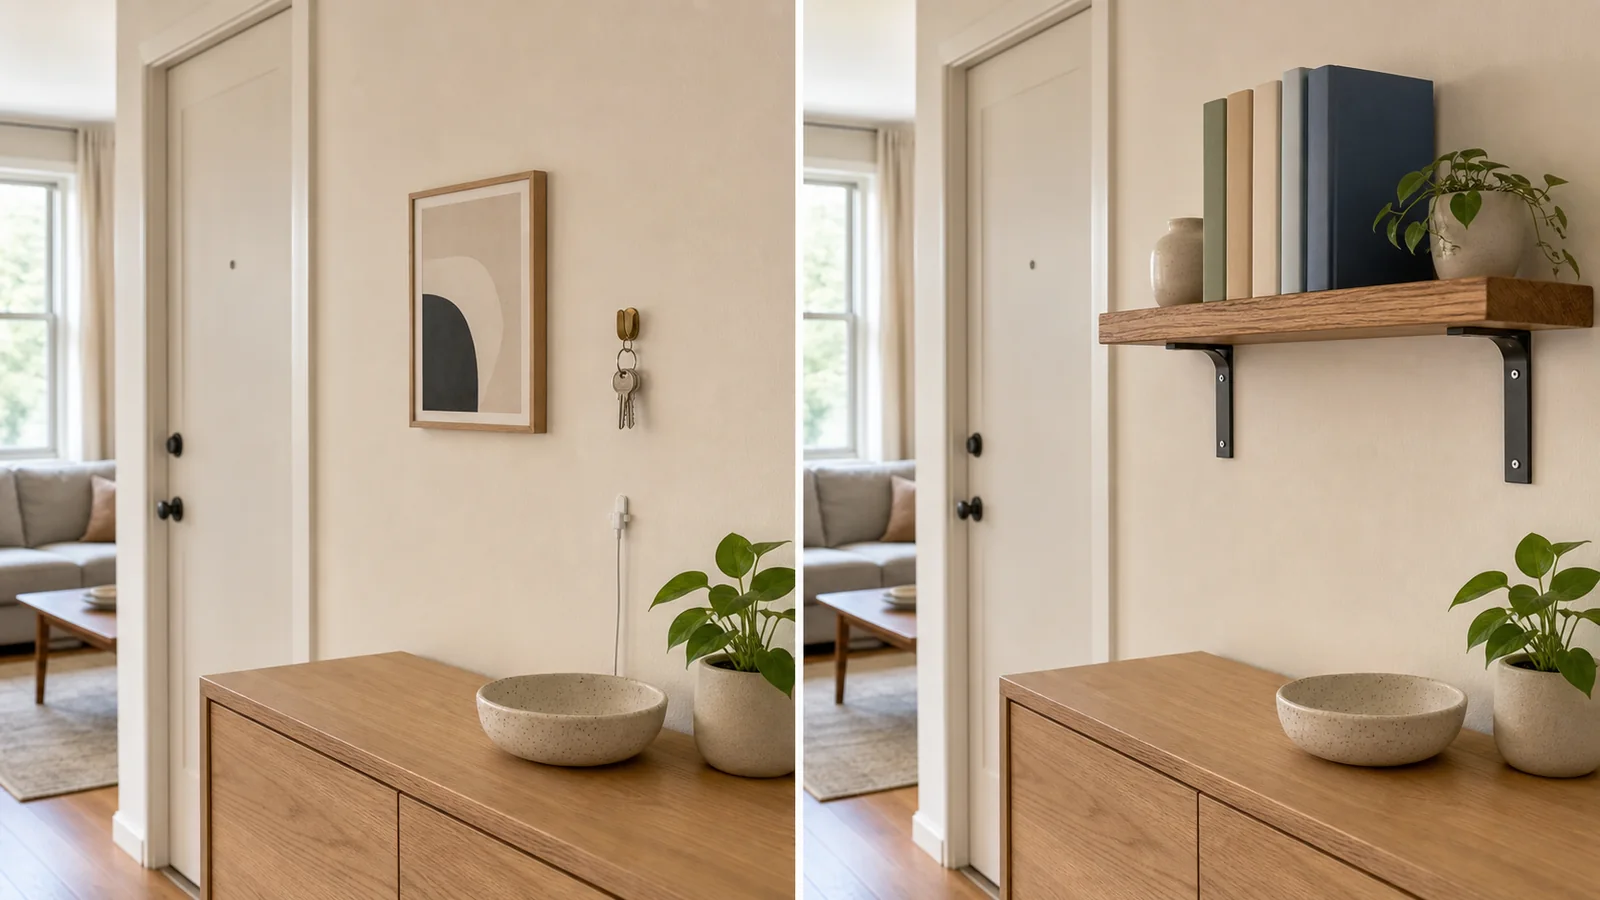
- Shelves, heavy organizers, curtain rods, blinds, or large mirrors.
- Valuable or breakable items above beds, seating, desks, or walkways.
- Grab bars, accessibility hardware, smoke alarms, emergency equipment, or other safety devices.
- Child-proofing equipment or anything intended to restrain a child, pet, door, or piece of furniture.
- Damp shower zones or surfaces exposed to recurring moisture unless the exact product is approved for that use.
- Rough brick, heavily textured walls, wallpaper, or finishes that are peeling, chalky, damp, weak, dirty, or recently painted.
- Any situation where the product maker or lease prohibits adhesive use.
- For blinds, privacy, or light control, use the renter-friendly window covering guide.
- For bathroom shelves and humid storage zones, use the no-drill bathroom storage guide.
How to set it up
Step 1: Read the requirements
Read the product instructions and lease requirements before selecting a location.
Step 2: Check the surface
Check the exact surface material, paint, texture, moisture, and finish condition.
Step 3: Match the accessory
Confirm that the accessory is intended for the item and the normal movement involved.
Step 4: Prepare only as directed
Prepare the surface only according to the exact product instructions.
Step 5: Preserve removal access
Mark the position and keep the removal tab or release area accessible.
Step 6: Apply and wait
Apply the system and wait for the stated period before loading it.
Step 7: Add the item carefully
Add the item without twisting or pulling the mount away from the surface.
Step 8: Recheck after use
Recheck the attachment after normal use and remove the item if the surface or mount changes.
Step 9: Use the stated removal method
Remove the system only by the method and direction specified for the exact product.
Buying Notes
Approved surface
Use the manufacturer's surface list for the exact product. A smooth wall is not automatically suitable, and paint condition, age, preparation, and the layer beneath it can matter.
Actual item and accessory
Match the accessory to the real task. A hook, picture-hanging strip, and cord clip may use different components and limits even within one mounting family.
Load direction
Consider normal movement. A quiet downward load differs from pulling, swinging, impact, or repeated cable movement. Do not turn one listed limit into a universal promise.
Installation and waiting instructions
Follow the exact directions for preparation, pressing, waiting, room conditions, and loading instead of applying a universal cleaning or waiting rule.
Removal path
Confirm that the removal tab or release area will remain reachable and can move in the required direction without another object blocking it.
Common Mistakes
Treating no drill as no risk
Adhesive avoids a hole but can still leave residue or affect an incompatible or weak finish.
Using one limit for every surface
Do not apply one listed weight or configuration to every surface, accessory, orientation, and room condition.
Hanging valuable items over occupied areas
Do not use this lightweight system for valuable or breakable items above beds, seating, desks, or walkways.
Ignoring surface condition
Dirty, damp, textured, weak, peeling, recently painted, or otherwise incompatible finishes can change adhesion and removal risk.
Hiding the removal tab
Do not cut off, cover, or position the tab where the item or a nearby edge blocks the required release path.
Loading before the stated waiting period
Follow the exact waiting instructions rather than adding the item immediately.
Using lightweight strips for structural tasks
Shelves, curtain hardware, large mirrors, heavy storage, and safety equipment need another mounting method.
Pulling outward during removal
Follow the stated release direction instead of pulling the strip or accessory away from the wall.
Assuming the lease allows adhesive
A no-drill rule does not automatically grant permission to attach adhesive products.
Mixing incompatible parts
Do not combine accessories and strips unless the instructions say they are designed to work together.
Final Verdict
A removable mounting-strip system is the clearest first pick for lightweight hanging and cord-control tasks on manufacturer-approved surfaces. It offers a consistent way to choose, install, and remove small accessories without drilling permanent holes.
It is not a substitute for structural mounting, surface repair, safety hardware, a window treatment, or a specialized storage solution. Keep the task light, match every component, preserve the removal path, and follow both the lease and product instructions.
FAQ
Are removable mounting strips really damage-free?
Not universally. Residue or lifted paint can occur on weak, incompatible, poorly prepared, recently painted, or incorrectly handled surfaces. Check the surface and removal instructions.
Can I use removable strips on textured walls?
Only when the manufacturer approves that texture and finish. Rough or heavily textured walls may reduce contact or create uneven removal risk.
Can removable strips hold shelves or heavy mirrors?
Not as a general recommendation. Shelves and heavy mirrors need a mounting method specifically designed for the wall, load, movement, and consequences of failure. Follow the product requirements and obtain lease approval when permanent mounting is needed.
How do I know how much weight a strip can hold?
Read the exact strip and accessory instructions for the approved surface and configuration. Do not transfer one rating to another arrangement or ignore normal movement.
How should removable mounting strips be removed?
Follow the stated release method and direction. Keep the tab accessible, work slowly, and do not substitute heat, scraping, solvents, or outward pulling unless instructed.
What should I do if my lease does not allow adhesive products?
Do not install them. Seek written approval for a specific method or choose a compatible tension-mounted, clip-on, or freestanding option.
Share this fix
Copy the key takeaway with a source link, or share the full guide.
Related SoloFave Fixes
How to Choose a Renter-Friendly Window Covering
Match the room's real window problem to one compatible no-drill covering, with clear checks for fabric, fit, mount, hardware, and removal.
Read the guideHow to Add Bathroom Storage Without Drilling
Add useful bathroom storage with one ventilated no-drill shelf, after checking moisture exposure, surface compatibility, drainage, load, and removal.
Read the guideHow to Choose a Peel-and-Stick Backsplash for a Rental
Plan a renter-friendly backsplash with one thicker tile-style sheet, plus practical checks for surface prep, heat, steam, outlets, seams, and removal.
Read the guideHow to Plan Storage for a Small Apartment
Fix the most crowded storage zone first with one adjustable freestanding shelf, then use room-specific guides for the spaces that need another solution.
Read the guideDisclosure
This page may include paid links. We may earn a commission if you buy through them, at no extra cost to you.