Renter-Friendly Home
How to Choose a Peel-and-Stick Backsplash for a Rental
A dated rental backsplash can be visually distracting, but covering it introduces a larger surface commitment than hanging one lightweight item. The wall material, paint or finish condition, grease, texture, seams, outlets, heat, steam, and lease all affect whether peel-and-stick is reasonable.
Start with the wall and kitchen conditions, not the pattern. A removable-looking sheet can still be a poor fit near incompatible heat sources, recurring moisture, loose paint, textured tile, or a surface the lease does not allow you to cover.
Editor
SoloFave Editorial Team
Updated
July 2026
How we picked
Surface compatibility, sheet structure, seam planning, heat and steam limits, outlet work, tool requirements, cleaning, lease suitability, and removal risk.
Quick answer
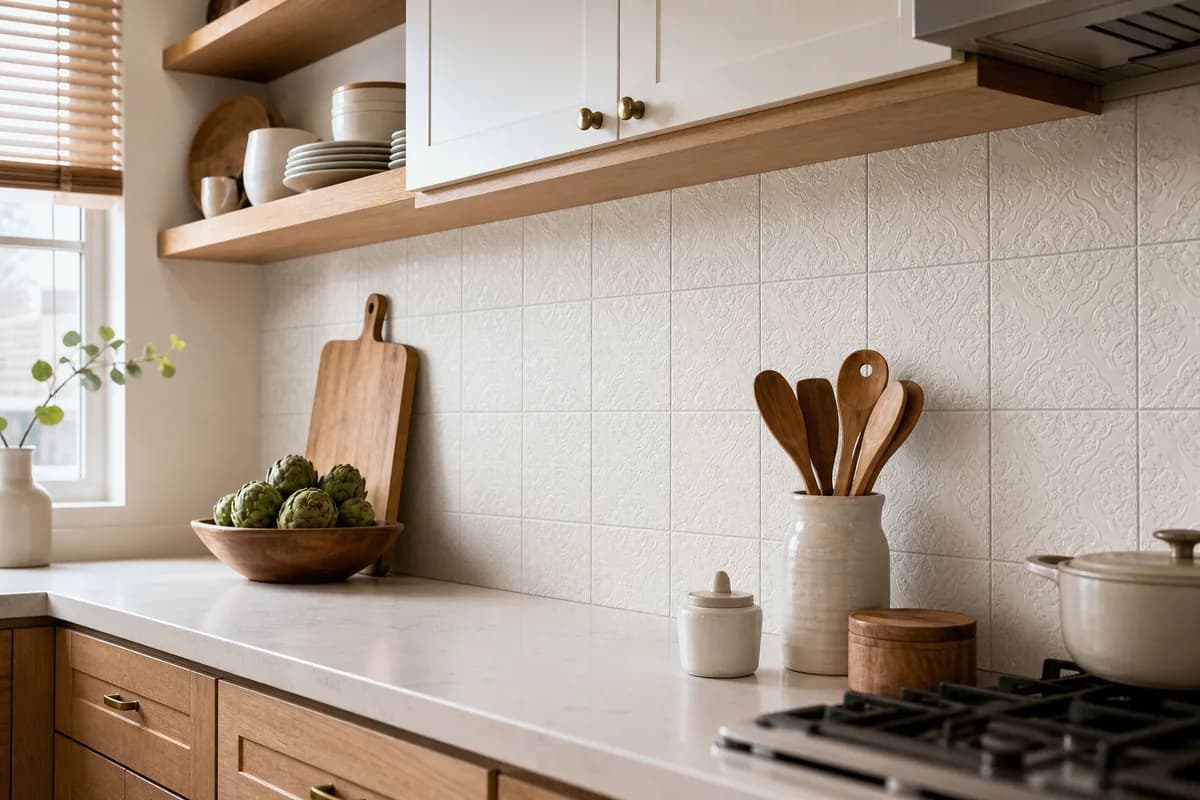
For a compatible rental-kitchen wall, start with a thicker tile-style peel-and-stick backsplash sheet after a small placement and removal test in a low-visibility area.
Recommended first
The SoloFave Pick
The one solution we would try first for this specific problem.
- Product type
Thicker tile-style peel-and-stick backsplash sheet
- Difficulty
- Moderate
- Why this pick
- It offers a more dimensional, finished appearance than thin printed film while remaining a surface-applied option for walls and kitchen conditions specifically approved by the product maker and lease.
Best For
- Smooth, sound, clean, dry wall or existing backsplash surfaces approved by the selected product.
- Rental kitchens where the lease or written approval allows a removable surface covering.
- Areas within the maker's stated heat, steam, splash, and appliance-clearance limits.
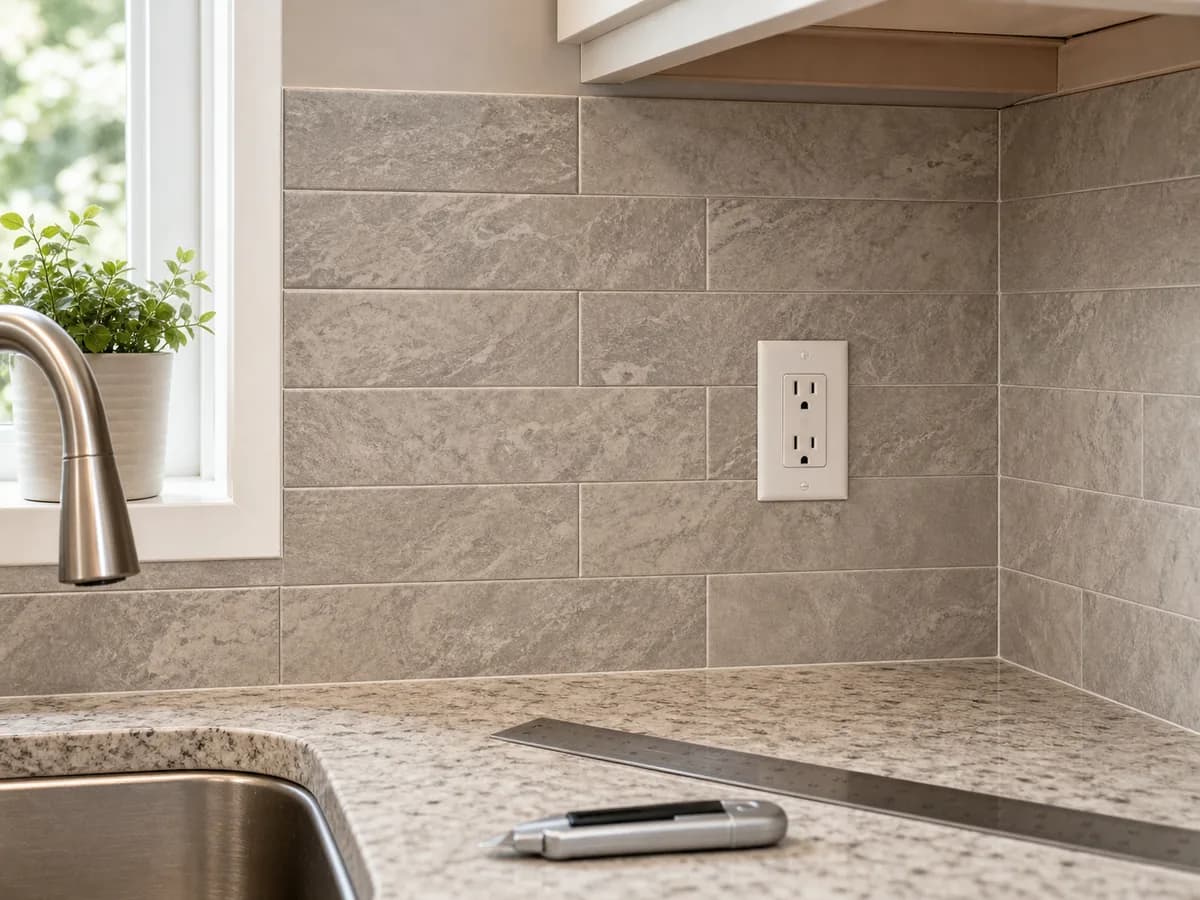
- Simple rectangular layouts with manageable outlet and corner cuts.
- People willing to plan seams and test placement before buying the full quantity.
- Walls that can be cleaned and prepared exactly as the instructions require.
The Problem
Peel-and-stick backsplash products vary from thin printed film to thicker embossed tile-style sheets. Thin film can follow every bump or grout line and may look more like a graphic layer. A thicker sheet can create a more substantial tile-like surface, but it still depends on careful layout and an approved substrate.
Kitchen conditions are not uniform. The wall behind a sink may see splashes and cleaning products; the wall near a range may see heat, grease, and steam; and outlets interrupt the pattern. Product instructions, appliance clearances, local requirements, and the lease should control where the material can be used.
Removal is also part of the purchase. Adhesive can leave residue or affect weak paint, wallpaper, coatings, grout, or an existing finish. A small test can reveal obvious incompatibility, but it cannot guarantee how the full installation will behave after months of heat, cleaning, and aging.
Why this is our one pick
- The thicker structure is less dependent on printed shading alone to create a tile-like appearance.
- Interlocking or planned sheet edges can make a repeatable layout easier than placing many separate stickers.
- The material can be cut around straight wall edges and compatible outlet openings with the correct tools and electrical precautions.
- It can be tested on the actual wall before committing to the full visible area.
- It changes the finish without requiring a tiled mortar installation, while still acknowledging that adhesive and removal carry surface risk.
- For smaller removable adhesive jobs, the lightweight hanging guide explains surface and removal checks; for the cabinet behind the finished work area, the pantry organizer guide focuses on shelf depth and food categories.
Backsplash Options We Compared
Thin printed adhesive film
Film is inexpensive and easy to trim, but it can reveal texture and grout lines and may look flatter. It is better for a smooth, low-complexity surface when a graphic finish is acceptable.
Individual peel-and-stick tiles
Separate pieces can create a more traditional pattern but require more alignment and more seams. Small errors can accumulate across a long wall.
Removable backsplash panel
A rigid or semi-rigid panel can reduce the amount of adhesive touching the wall, depending on its mounting method. It needs precise dimensions, safe edge treatment, and a permitted way to stay in place.
Paint or removable wallpaper
These can change color or pattern but do not create a tile-like washable surface. Paint is usually a lease and restoration decision; wallpaper has its own heat, moisture, seam, and removal limits.
Traditional tile
Tile can create a durable permanent backsplash when correctly specified and installed. It was not the renter-first pick because it normally requires approval, substrate preparation, mortar, grout, tools, and permanent alteration.
Limitations and who should skip this
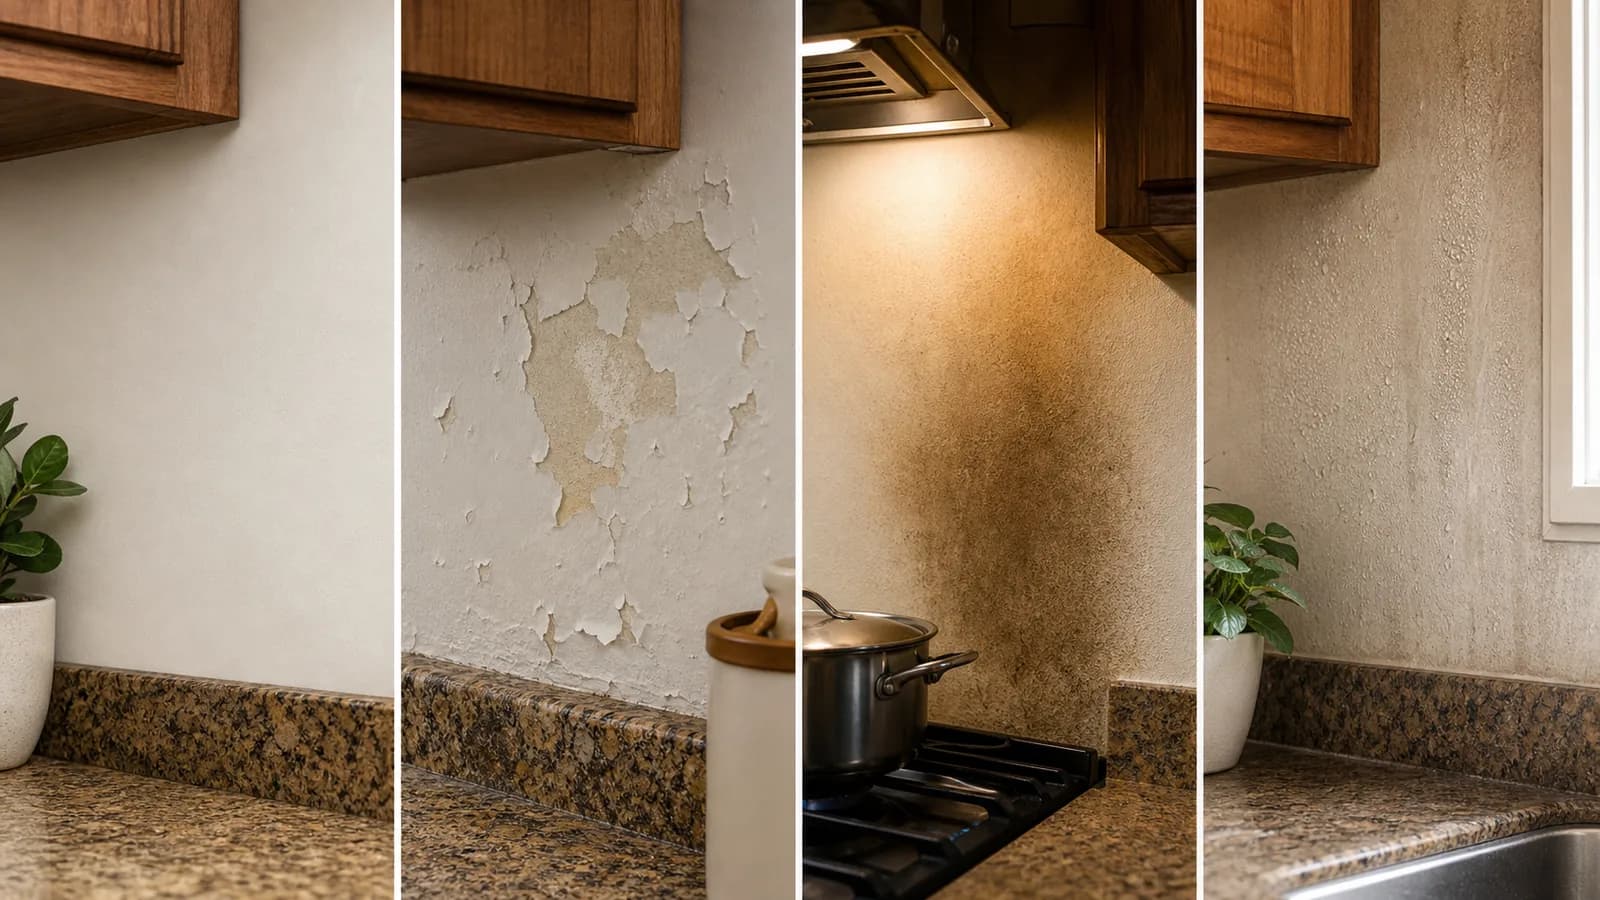
- Loose, peeling, chalky, damp, greasy, recently painted, highly textured, or otherwise unapproved surfaces.
- Wallpaper, delicate finishes, porous stone, or coatings not listed as compatible.
- Locations inside a flame zone, beyond appliance-clearance rules, or outside the product's heat rating.
- Walls with recurring leaks, condensation, loose grout, or moisture damage that needs repair first.
- Complex layouts with many uneven corners, curved edges, outlets, or penetrations beyond the installer's skill and tools.
- Kitchens where the lease prohibits adhesive coverings or requires restoration by a professional.
- Anyone expecting a test patch to guarantee residue-free removal after long-term use.
How to set it up
Step 1: Check the lease and wall
Confirm that the covering is permitted, identify the exact substrate and finish, and repair any leak, loose paint, grout, or surface problem before considering adhesive.
Step 2: Map heat, steam, water, and outlets
Mark appliance clearances, sink splash areas, steam paths, switches, outlets, corners, and terminations. Use the product and appliance instructions for restricted areas.
Step 3: Test a low-visibility area
Prepare, apply, wait, clean, and remove a small sample only as directed. Stop if the adhesive, wall, finish, or cleaning process shows incompatibility.
Step 4: Dry-plan sheets and seams
Lay out the starting line, pattern repeat, overlap or interlock, corner treatment, outlet cuts, and final edge before removing backing. Avoid ending with a very narrow visible strip.
Step 5: Prepare tools and electrical access
Use the maker's required straightedge, cutting surface, roller or squeegee, and approved cutting tool. De-energize and handle outlet covers only within your competence and local requirements.
Step 6: Apply in controlled sections
Follow the specified cleaning, drying, alignment, pressure, overlap, and curing process. Keep seams consistent and do not stretch the sheet to force alignment.
Step 7: Inspect edges and maintain
Check seams, corners, outlet edges, and heat-adjacent areas after normal cooking and cleaning. Stop using or correct the installation if the material changes in a way the instructions do not permit.
Buying Notes
Approved substrate
Use the exact surface list. Smooth painted drywall, glazed tile, laminate, and other finishes are not interchangeable, and existing coatings or grout can change adhesion.
Heat and appliance clearance
Compare the product limits with the range, cooktop, toaster oven, kettle, and other heat or steam sources. Follow appliance and local clearance requirements rather than assuming backsplash placement is universal.
Steam and splash exposure
Check whether the sheet, seams, and adhesive are approved for the sink and cooking conditions. A wipeable face does not automatically make every edge or substrate moisture-safe.
Sheet thickness and edge profile
Review the actual material thickness, embossed profile, overlap, interlock, and exposed edge treatment. Samples are more useful than relying only on styled listing photos.
Pattern repeat and seam plan
Calculate the usable sheet area after overlap, pattern matching, outlet cuts, mistakes, and edge trimming. Buy from the same intended color or production lot when consistency matters.
Outlet and switch cuts
Plan how the material terminates behind approved cover plates without entering electrical boxes or blocking safe access. Use qualified help when the work exceeds simple cover removal.
Cleaning products
Confirm which degreasers, abrasives, heat, and cleaning tools the finished face and seams tolerate. Preserve access to the original wall or grout maintenance when required.
Removal test and restoration plan
A small test can identify an immediate problem but cannot guarantee long-term removal. Budget time for slow removal, residue handling, inspection, and any lease-required restoration.
Common Mistakes
Installing over grease or loose finish
Adhesive cannot correct a weak substrate. Identify and address the wall condition before covering it.
Starting without a seam plan
An unplanned first sheet can force thin cuts, mismatched patterns, or visible seams at the most noticeable edge. Dry-plan the whole run.
Ignoring heat and steam limits
Do not place the material based only on appearance. Check product, appliance, and local requirements for the exact location.
Cutting outlets while energized
Electrical work has consequences beyond decoration. De-energize the relevant circuit and use qualified help when required.
Stretching sheets to align the pattern
Stretching can distort the pattern or place stress on seams and edges. Reposition only as the instructions allow.
Treating a test patch as a removal guarantee
Time, heat, cleaners, moisture, and finish aging can change removal. Keep the restoration plan even after a successful short test.
Covering a moisture problem
A backsplash sheet should not hide an active leak, damp substrate, failing grout, or mold concern. Address the source first.
Final Verdict
For a compatible rental-kitchen wall, the SoloFave Pick is a thicker tile-style peel-and-stick backsplash sheet. It creates a more dimensional finish than thin printed film while keeping the project surface-applied rather than mortar-set.
Proceed only after checking the lease, substrate, heat and steam limits, outlet work, seam plan, tools, and removal path. Use another finish when the wall is weak, wet, highly textured, too close to restricted heat, or too complex for a controlled installation.
FAQ
What type of peel-and-stick backsplash is best for renters?
For a compatible wall, start with a thicker tile-style sheet that has clear surface, heat, steam, seam, cleaning, and removal instructions. Confirm the lease and test a low-visibility area before buying the full quantity.
Can peel-and-stick backsplash go over existing tile?
Only if the selected product approves that exact tile, glaze, grout pattern, texture, condition, and cleaning process. Deep grout lines or uneven tile can show through or reduce contact, depending on the sheet.
Can it be installed behind a stove?
That depends on the product's heat limits, the appliance instructions, required clearances, local requirements, and the actual location. Do not place adhesive material in a flame or heat zone unless every applicable instruction permits it.
How should I cut around outlets?
Plan the cut before removing backing, de-energize the relevant circuit, keep material out of the electrical box, and let an approved cover plate finish the edge where permitted. Use qualified help when the work exceeds your competence.
Will peel-and-stick backsplash remove without damaging paint?
That cannot be guaranteed. Paint quality, surface preparation, adhesive, time, heat, moisture, cleaning, and removal method all matter. A test patch can reveal immediate incompatibility but not every long-term outcome.
What tools are needed for a clean installation?
Follow the exact product list. Common needs include a tape measure, level, straightedge, approved cutting tool, safe cutting surface, pencil, and roller or squeegee, plus appropriate electrical precautions around outlets.
Share this fix
Copy the key takeaway with a source link, or share the full guide.
Related SoloFave Fixes
How to Hang Lightweight Items Without Drilling in a Rental
Hang lightweight decor and organize cords with one removable mounting system, while avoiding surfaces and loads that make adhesive a poor fit.
Read the guideBest Pantry Organizer for Messy Cabinets
Group pantry food with clear handled bins that fit the real shelf depth, preserve package labels and dates, and do not pretend every bin is airtight.
Read the guideBest Under-Sink Organizer for Awkward Cabinets
Organize an awkward sink cabinet with one adjustable two-tier unit while keeping plumbing, shutoffs, leaks, children, and cleaning access in view.
Read the guideDisclosure
This page may include paid links. We may earn a commission if you buy through them, at no extra cost to you.